Setting Up Custom Domains
Use your own domain to make Deformity forms fully yours. Custom domains let you match your brand, improve trust, and keep visitors on your URL.
Note: Custom domains are available on the Pro tier and above. There is no limit to how many domains you connect, and you can assign one per form.
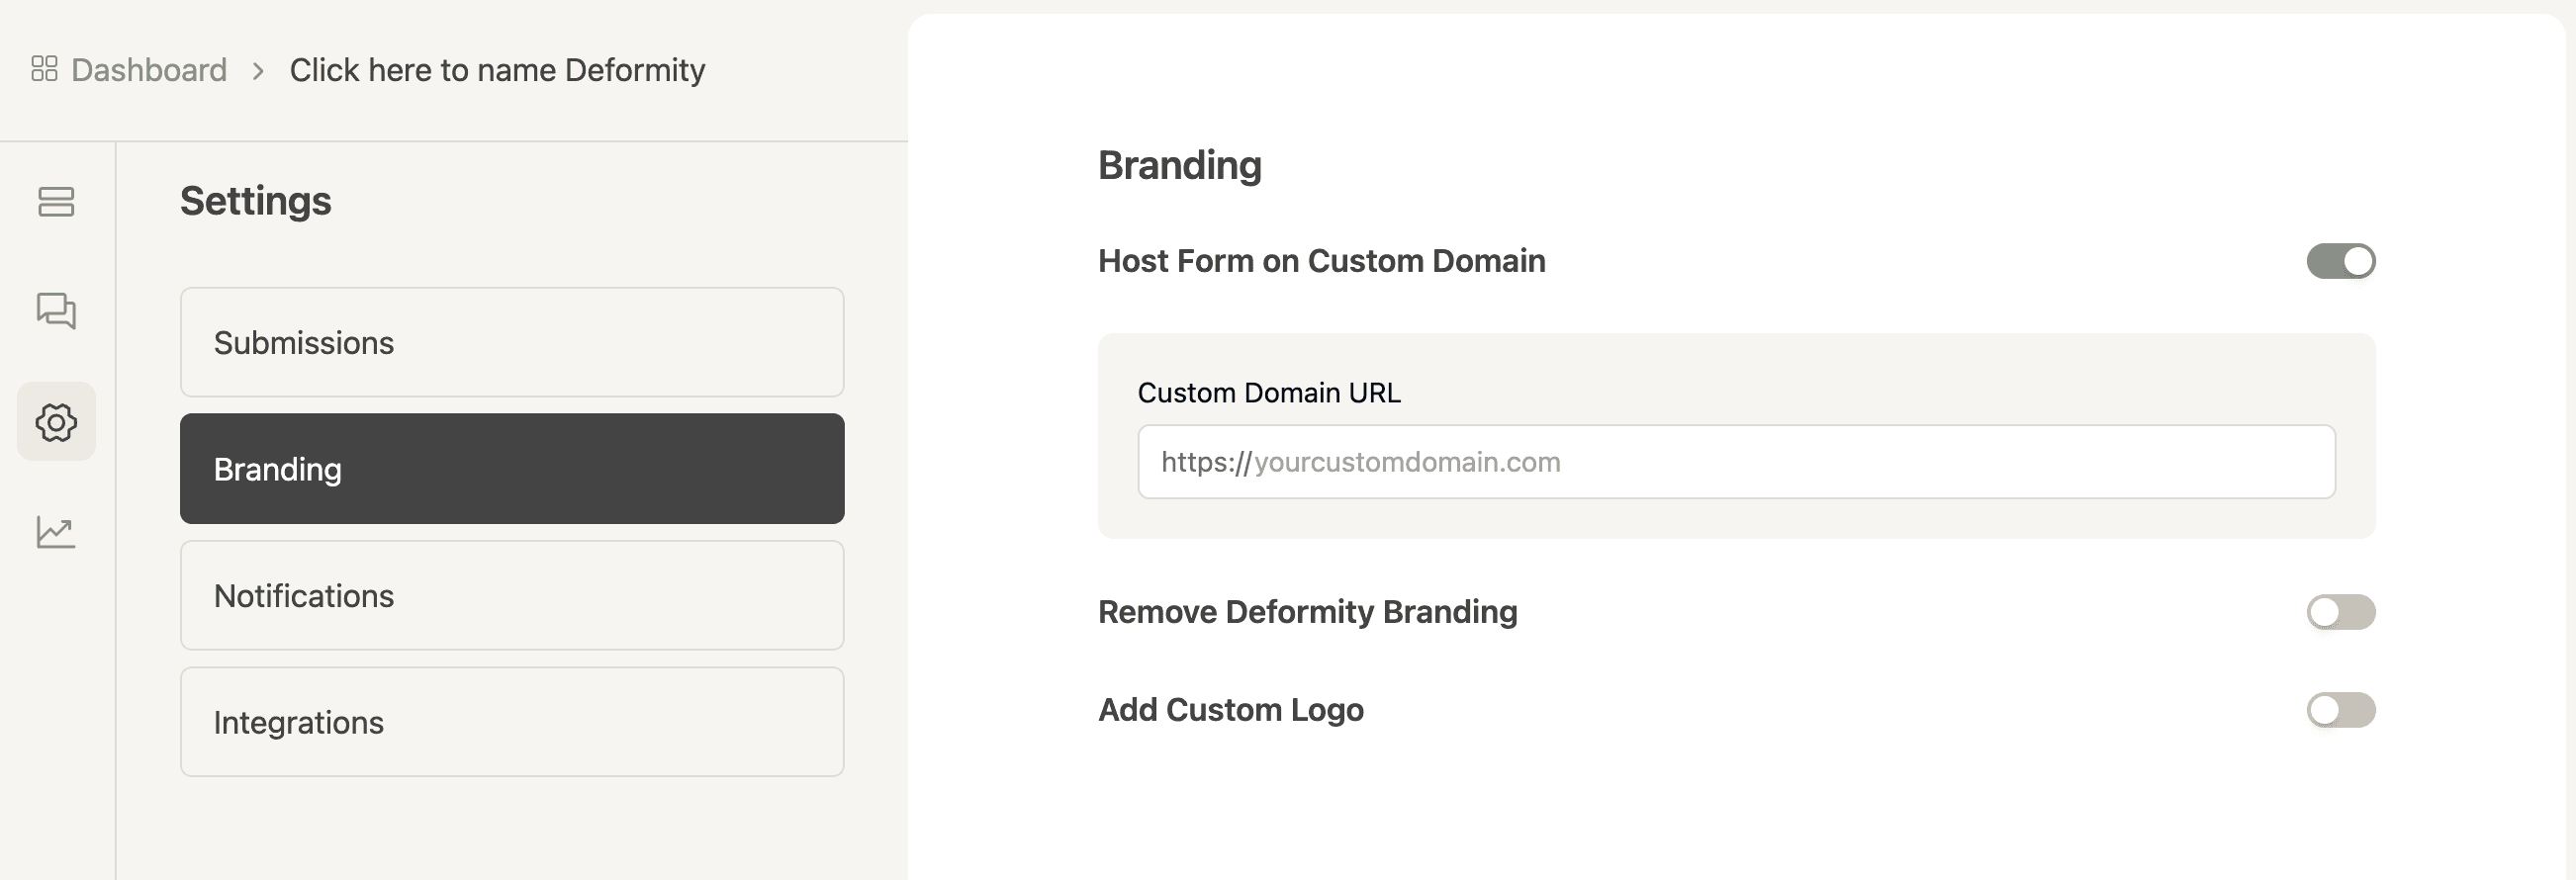
Step 1: Add Your Domain
Once inside your Deformity form, navigate to Settings > Branding > Host Form on Custom Domain and enter the full URL of the domain you own (e.g., forms.yourdomain.com). You can also append a path like /myform to host multiple forms on the same domain. If you don’t own a domain yet, purchase one from a registrar like Namecheap or GoDaddy.
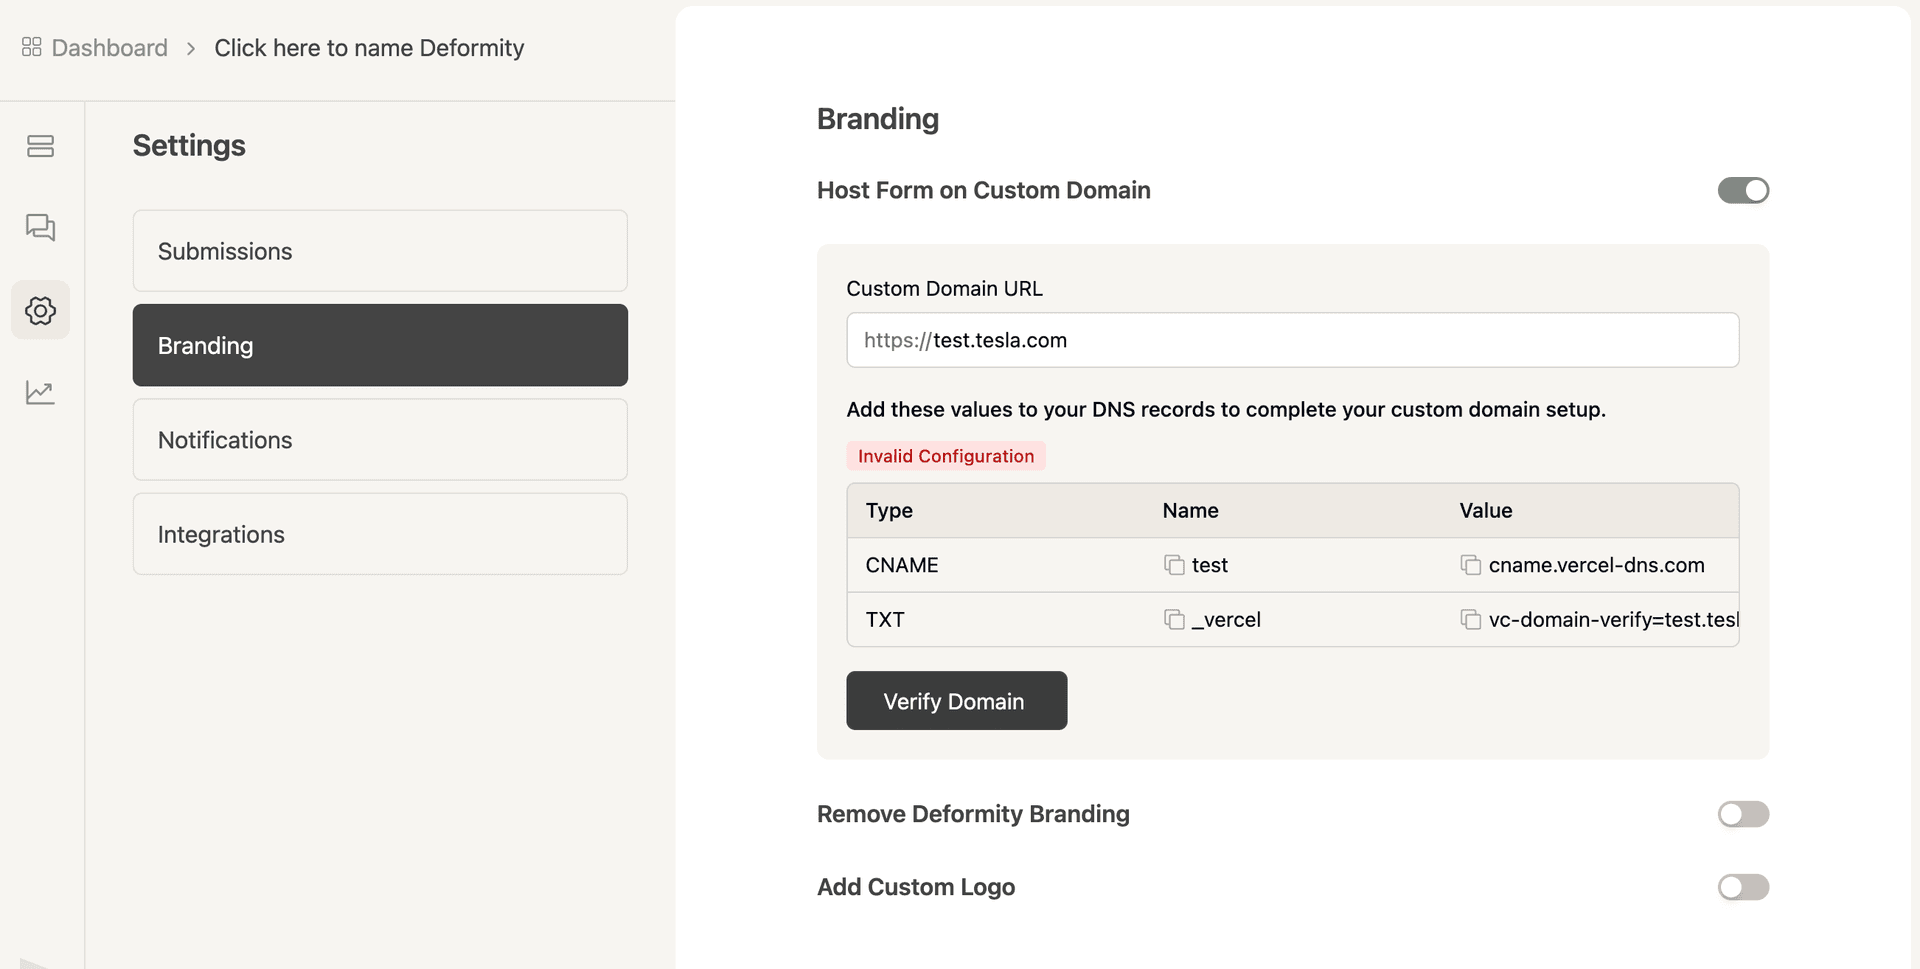
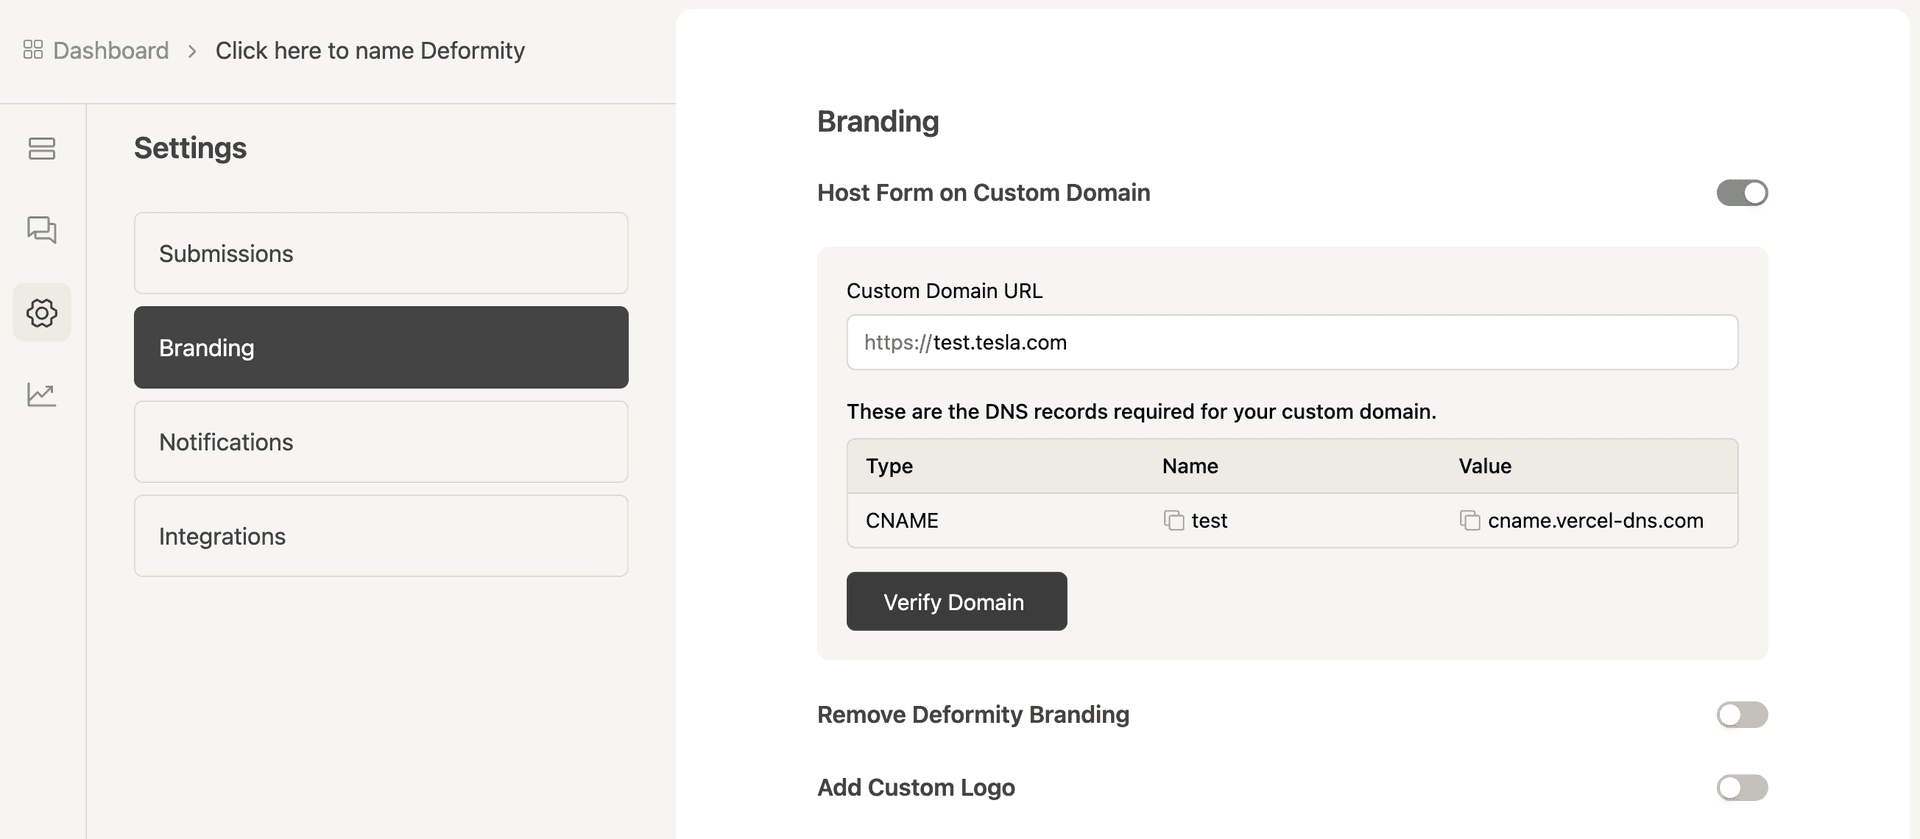
Step 2: Update DNS Records
Deformity will display the DNS records you need to configure at your domain provider:
- A Record pointing
@to76.76.21.21 - CNAME for
wwwor your subdomain tocname.vercel-dns.com
DNS changes can take up to 24 hours to propagate, but often complete in minutes.
What Are DNS Records?
DNS records tell the internet how to route traffic for your domain:
- A Record: Maps a domain (like
yourdomain.com) to an IP address. - CNAME: Points a subdomain (like
forms.yourdomain.com) to another hostname. - TXT Record: Used for verification or security (you may be asked to add one extra TXT record).
Step 3: Verify Your Domain
Back in Deformity, click the Verify Domain button. If your DNS records are correct, you’ll see a success message and your form will go live on your domain.
If you see a prompt for an additional TXT record, add it as shown (in addition to the previous records you configured), then click Verify again after propagation.